
RN 加入到现有的iOS项目中
建议用 react-native init 创建项目后,再把旧的iOS项目将文件迁移到该iOS项目去。
1.首先创建一个iOS项目,名为 test。
这里有点注意的是,要修改info.plist文件里面关于网络的设定。
<key>NSAppTransportSecurity</key>
<dict>
    <key>NSExceptionDomains</key>
    <dict>
        <key>localhost</key>
        <dict>
            <key>NSTemporaryExceptionAllowsInsecureHTTPLoads</key>
            <true/>
        </dict>
    </dict>
</dict>
或者这个,我更倾向于后者:
<key>NSAppTransportSecurity</key>
    <dict>
        <key>NSAllowsArbitraryLoads</key>
    <true/>
</dict>
2.创建用来寄放 React Native 项目的文件夹,取名为:testiOSRN。
3.在 testiOSRN 文件夹下,创建一个名为:package.json 的文件。
输入以下内容:
{
    "name": "MyReactNativeApp",
    "version": "0.0.1",
    "private": true,
    "scripts": {
        "start": "node node_modules/react-native/local-cli/cli.js start"
    },
    "dependencies": {
        "react": "^16.3.1",
        "react-native": "0.54.3"
    }
}
在 testiOSRN 目录下,执行 npm install 命令。
结束后,testiOSRN 目录下会有:node_modules、package.json、package-lock.json。
4.在 testiOSRN 目录下,创建为名 ios 的文件夹,用来存放iOS项目。
将iOS项目,移动到这里。
ios 文件夹下放:test 文件夹、test.xcodeproj 之类文件,无上一级文件夹。
5.CocoaPods 操作
1.假如没有 CocoaPods 的话,可以进行安装。
brew install cocoapods
安装过的话,会更新一下相关更新。
2.在 ios 目录下(具体路径为:testiOSRN/ios )。
使用命令
pod init
结束后你会看到一个 Podfile 文件的创建。
打开后会看到以下内容:
# Uncomment the next line to define a global platform for your project
#platform :ios, '9.0'

target 'test' do
  # Uncomment the next line if you're using Swift or would like to use dynamic frameworks
  # use_frameworks!

  # Pods for test

end
然后我修改了一下,根据相关指示。。。
# Uncomment the next line to define a global platform for your project
platform :ios, '8.0'

target 'test' do
  # Uncomment the next line if you're using Swift or would like to use dynamic frameworks
  # use_frameworks!

  # Pods for test

  # 'node_modules'目录一般位于根目录中
  # 但是如果你的结构不同,那你就要根据实际路径修改下面的`:path`
  pod 'React', :path => '../node_modules/react-native', :subspecs => [
    'Core',
    'CxxBridge', # 如果RN版本 >= 0.45则加入此行
    'DevSupport', # 如果RN版本 >= 0.43,则需要加入此行才能开启开发者菜单
    'RCTText',
    'RCTNetwork',
    'RCTWebSocket', # 这个模块是用于调试功能的
    # 在这里继续添加你所需要的RN模块
  ]
  # 如果你的RN版本 >= 0.42.0,则加入下面这行
  pod "yoga", :path => "../node_modules/react-native/ReactCommon/yoga"

   # 如果RN版本 >= 0.45则加入下面三个第三方编译依赖
  pod 'DoubleConversion', :podspec => '../../node_modules/react-native/third-party-podspecs/DoubleConversion.podspec'
  pod 'glog', :podspec => '../node_modules/react-native/third-party-podspecs/glog.podspec'
  pod 'Folly', :podspec => '../node_modules/react-native/third-party-podspecs/Folly.podspec'

end
然后,执行命令安装依赖:(还在 ios 目录下,哦~)
pod install
这个下载过程异常缓慢。。。。。。。
6. 编写 React Native 内容
1.在 testiOSRN 文件夹下,创建一个名为:index.js 的文件。
可以通过 touch 命令创建:
touch index.js
2.写入内容:
import React from 'react';
import {
AppRegistry,
StyleSheet,
Text,
View
} from 'react-native';
class RNHighScores extends React.Component {
render() {
var contents = this.props["scores"].map(
score => <Text key={score.name}>{score.name}:{score.value}{"\n"}</Text>
);
return (
<View style={styles.container}>
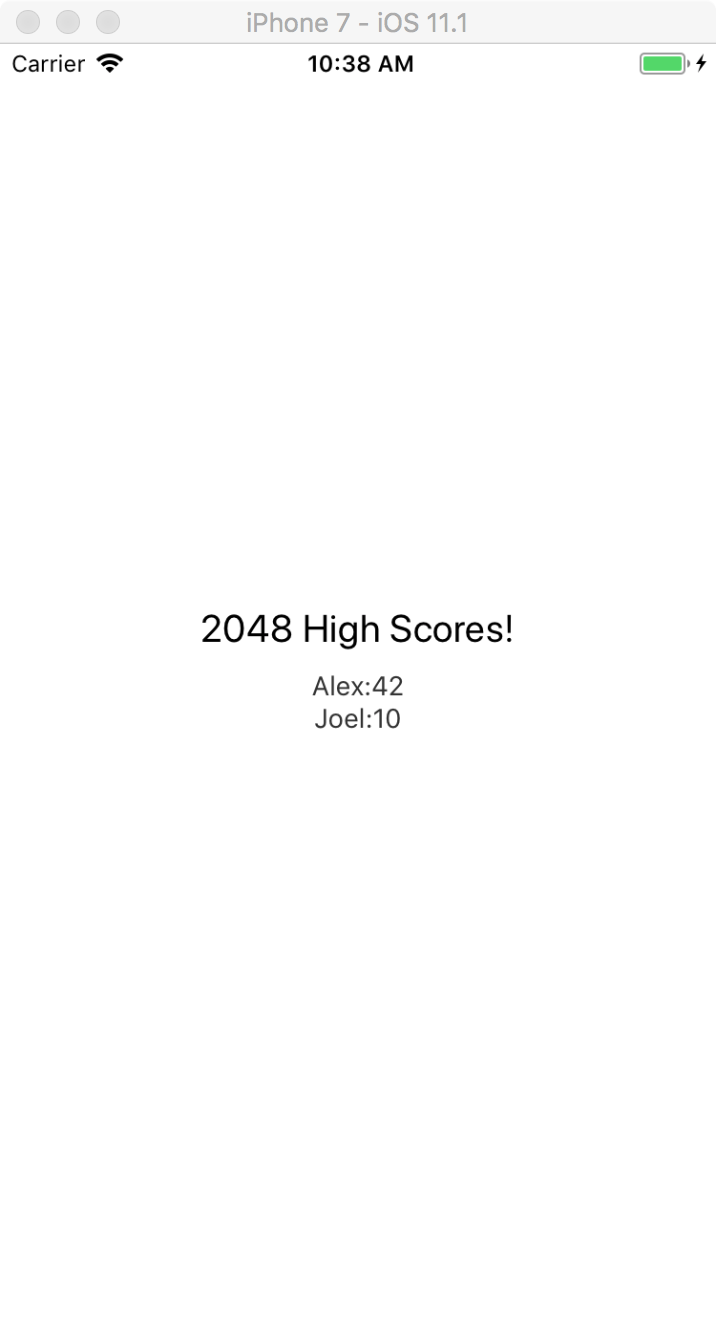
<Text style={styles.highScoresTitle}>
2048 High Scores!
</Text>
<Text style={styles.scores}>
{contents}
</Text>
</View>
);
}
}
const styles = StyleSheet.create({
container: {
flex: 1,
justifyContent: 'center',
alignItems: 'center',
backgroundColor: '#FFFFFF',
},
highScoresTitle: {
fontSize: 20,
textAlign: 'center',
margin: 10,
},
scores: {
textAlign: 'center',
color: '#333333',
marginBottom: 5,
},
});
// 整体js模块的名称
AppRegistry.registerComponent('MyReactNativeApp', () => RNHighScores);
接着下来就是到 iOS 项目里面进行修改了。
7.
在 ViewController.m 里面修改代码:
引入头文件:
#import <React/RCTRootView.h>
- (void)viewDidLoad {
    [super viewDidLoad];
    // Do any additional setup after loading the view, typically from a nib.

    UIButton* button = [[UIButton alloc] initWithFrame:CGRectMake(0, 100, 100, 150)];
    button.backgroundColor = [UIColor redColor];
    [button addTarget:self action:@selector(pressedButtonToDoSomething:) forControlEvents:UIControlEventTouchUpInside];
    [self.view addSubview:button];
}

- (void) pressedButtonToDoSomething:(UIButton*)sender {

}
在 pressedButtonToDoSomething: 方法里面编写以下内容:
NSLog(@"High Score Button Pressed");
NSURL *jsCodeLocation = [NSURL URLWithString:@"http://localhost:8081/index.bundle?platform=ios"];
    RCTRootView *rootView =
      [[RCTRootView alloc] initWithBundleURL : jsCodeLocation
                           moduleName        : @"MyReactNativeApp"
                           initialProperties :
                             @{
                               @"scores" : @[
                                 @{
                                   @"name" : @"Alex",
                                   @"value": @"42"
                                  },
                                 @{
                                   @"name" : @"Joel",
                                   @"value": @"10"
                                 }
                               ]
                             }
                           launchOptions    : nil];
    UIViewController *vc = [[UIViewController alloc] init];
    vc.view = rootView;
    [self presentViewController:vc animated:YES completion:nil];
想运行看看,却出现错误:
ld: warning: directory not found for option '-L/Users/muzico/Library/Developer/Xcode/DerivedData/test-cfkmuzfbgjtnyudefuszxwznegit/Build/Products/Debug-iphonesimulator/DoubleConversion'
ld: warning: directory not found for option '-L/Users/muzico/Library/Developer/Xcode/DerivedData/test-cfkmuzfbgjtnyudefuszxwznegit/Build/Products/Debug-iphonesimulator/Folly'
ld: warning: directory not found for option '-L/Users/muzico/Library/Developer/Xcode/DerivedData/test-cfkmuzfbgjtnyudefuszxwznegit/Build/Products/Debug-iphonesimulator/React'
ld: warning: directory not found for option '-L/Users/muzico/Library/Developer/Xcode/DerivedData/test-cfkmuzfbgjtnyudefuszxwznegit/Build/Products/Debug-iphonesimulator/glog'
ld: warning: directory not found for option '-L/Users/muzico/Library/Developer/Xcode/DerivedData/test-cfkmuzfbgjtnyudefuszxwznegit/Build/Products/Debug-iphonesimulator/yoga'
ld: library not found for -lDoubleConversion
clang: error: linker command failed with exit code 1 (use -v to see invocation)
。。。。。。。。把项目关了。。。。。。。。。
发现ios 目录下,多了一个叫 test.xcworkspace 的文件,点击打开,跑程序~~~~OK。
点击红色的按钮。。。
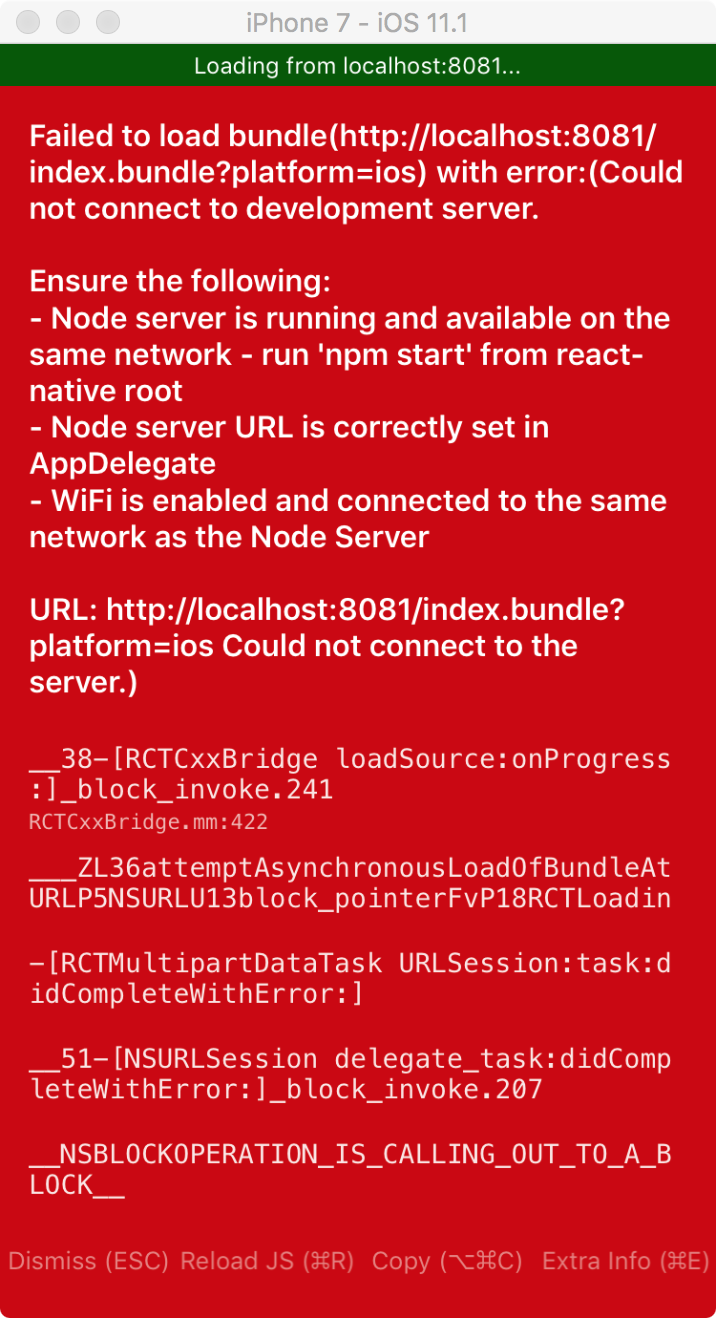
到 testiOSRN 文件夹下,执行命令:
npm start
然后回到 test.xcworkspace 工程点击运行,点击红色按钮,顺利的跑成功了。
不打开 test.xcworkspace 工程点击运行,还可以用命令执行:
react-native run-ios
但记住,这个也是需要执行 npm start 命令的。
8.另一个方式实现:(与 7. 不同)
创建一个 UIViewController,名为:TestViewController。
修改 TestViewController.m 的内容:
#import "TestViewController.h"

#import <React/RCTRootView.h>

@interface TestViewController ()

@end

@implementation TestViewController


- (void) loadView {
    NSURL *jsCodeLocation = [NSURL URLWithString:@"http://localhost:8081/index.bundle?platform=ios"];

    NSDictionary* props = @{
                            @"scores" : @[
                                    @{
                                        @"name" : @"Alex",
                                        @"value": @"42"
                                        },
                                    @{
                                        @"name" : @"Joel",
                                        @"value": @"10"
                                        }
                                    ]
                            };


    RCTRootView * rootView = [[RCTRootView alloc] initWithBundleURL:jsCodeLocation
                                                         moduleName:@"MyReactNativeApp"
                                                  initialProperties:props
                                                      launchOptions:nil];
    self.view = rootView;
}

- (void)viewDidLoad {
    [super viewDidLoad];
    // Do any additional setup after loading the view.
}

@end
然后在ViewController 里面点击按钮加载:
- (void) pressedButtonToDoSomething:(UIButton*)sender {
    TestViewController* vc = [TestViewController new];
    [self presentViewController:vc animated:YES completion:^{

    }];
}