Xamarin 创建一个 ContentPage对象
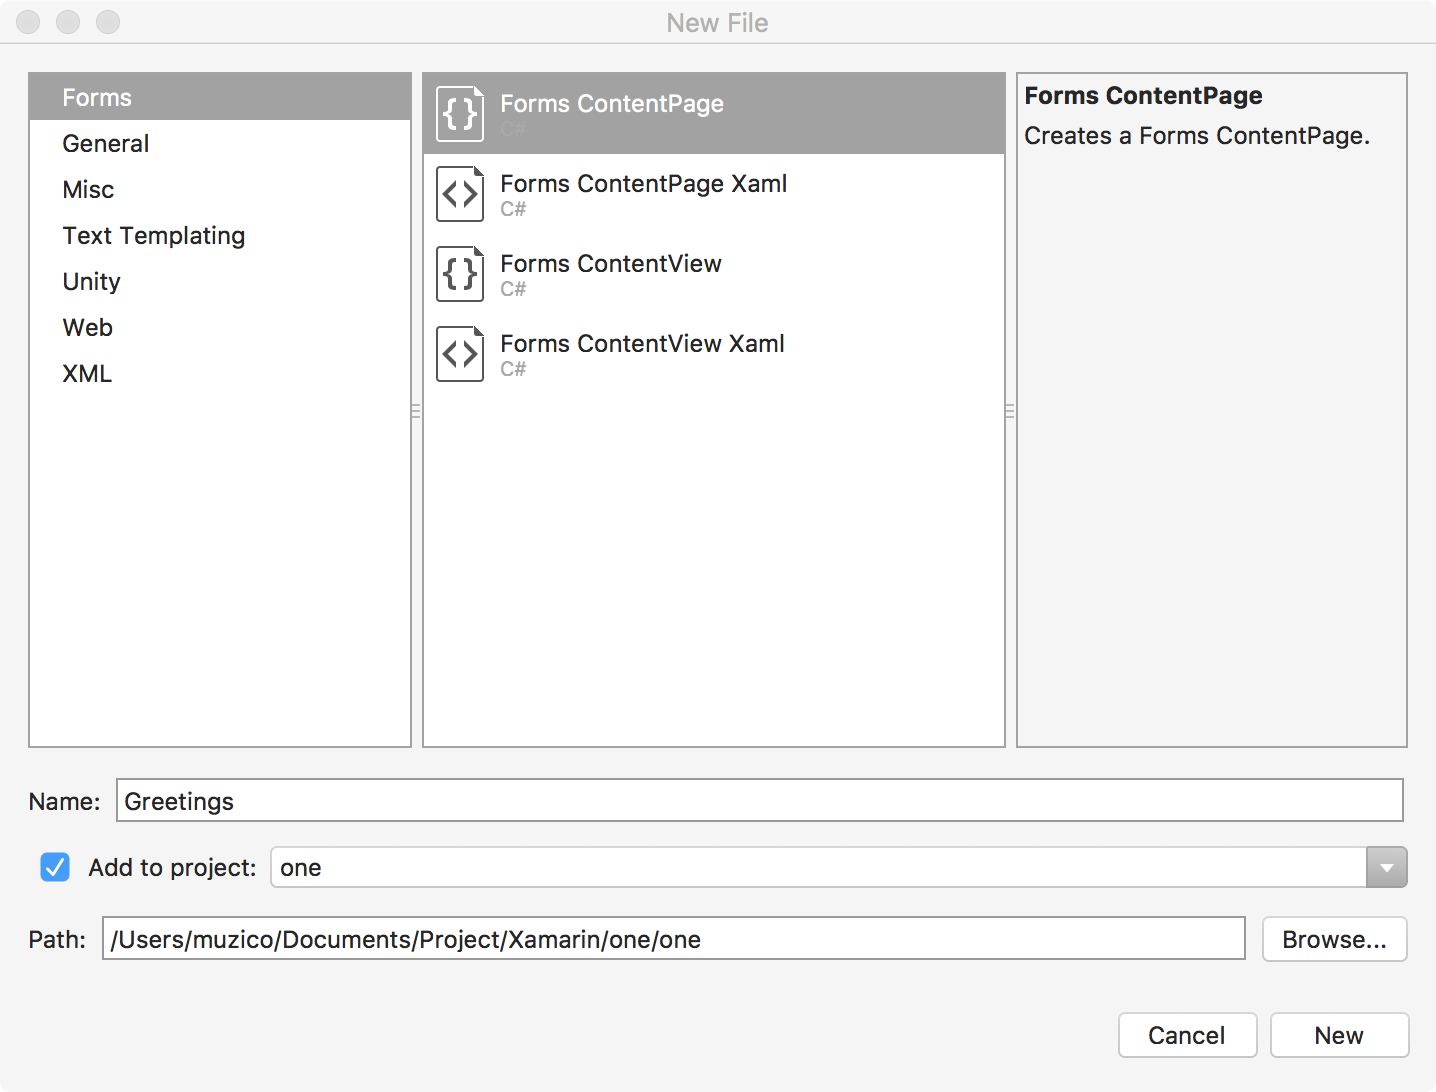
创建选择如下:

成功创建出一个名为 Greetings.cs的文件,内容如下:
using System;

using Xamarin.Forms;

namespace one
{
    public class Greetings : ContentPage
    {
        public Greetings()
        {
            Content = new StackLayout
            {
                Children = {
                    new Label { Text = "Hello ContentPage" }
                }
            };
        }
    }
}
加载这个文件,只需要回到 App.xaml.cs文件修改代码:
using Xamarin.Forms;

namespace one
{
    public partial class App : Application
    {
        public App()
        {
            InitializeComponent();

            MainPage = new Greetings();
        }

        protected override void OnStart()
        {
            // Handle when your app starts
        }

        protected override void OnSleep()
        {
            // Handle when your app sleeps
        }

        protected override void OnResume()
        {
            // Handle when your app resumes
        }
    }
}
无需引入文件,挺好的~
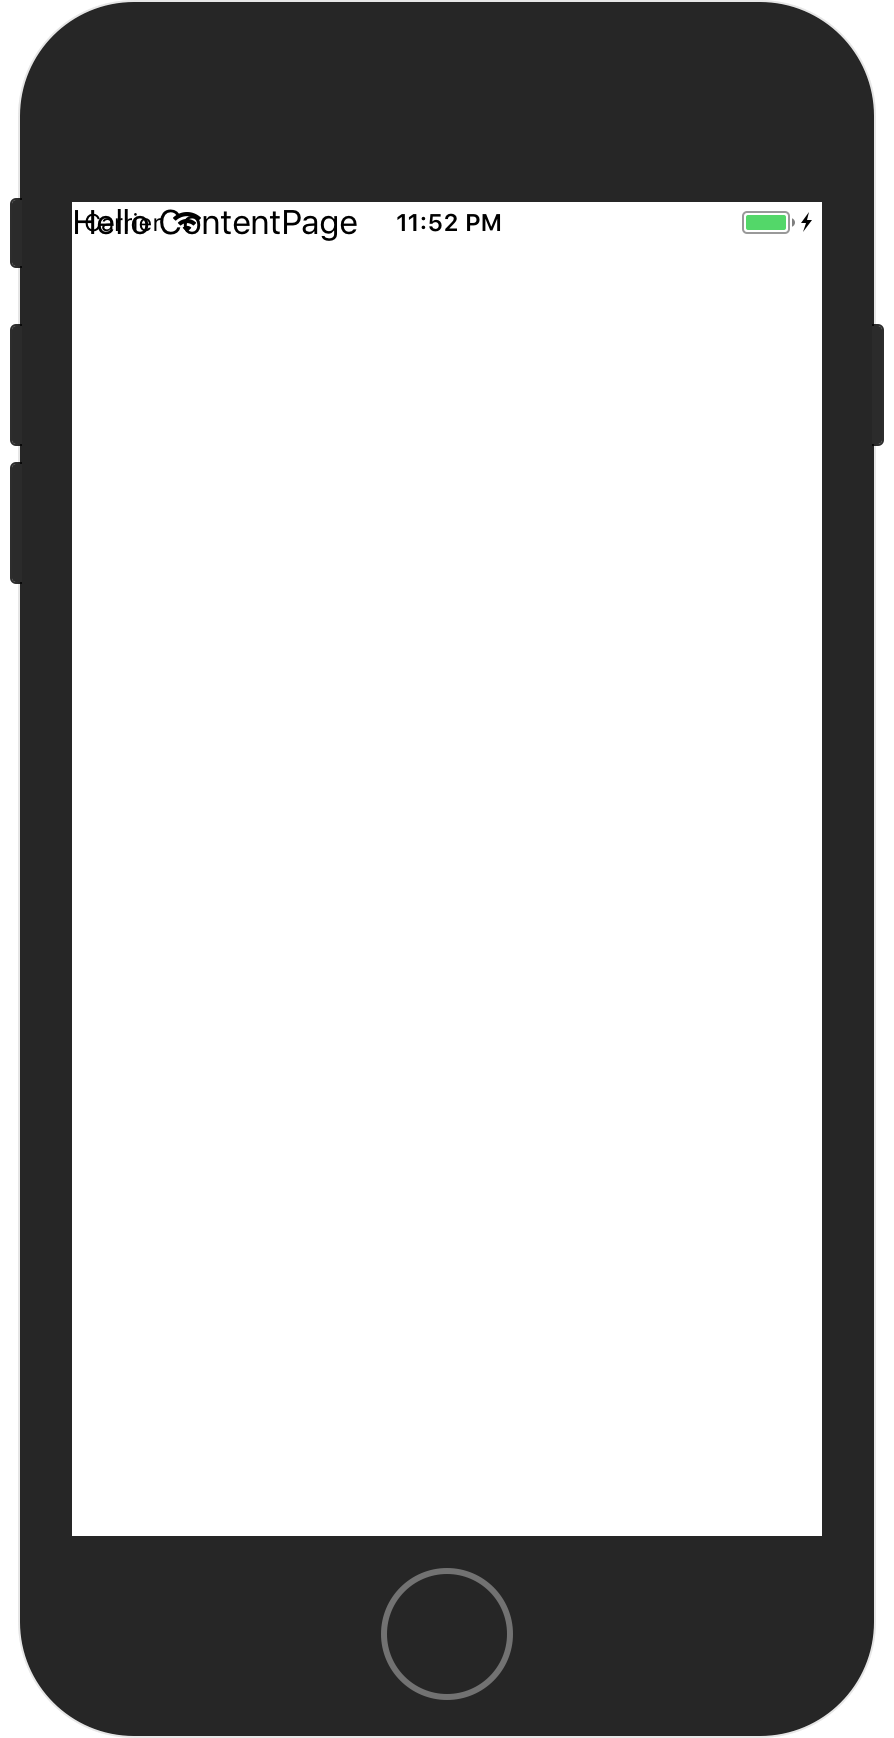
运行的结果如下:

假如你看到这个效果时,不必惊讶,这个可能是由于你创建项目时选择的不同选项导致项目以某种特定的方式处理的结果。
对于这种情况,我们可以用代码更正。
using System;

using Xamarin.Forms;

namespace one
{
    public class Greetings : ContentPage
    {
        public Greetings()
        {
            Content = new StackLayout
            {
                Children = {
                    new Label { Text = "Hello ContentPage" }
                }
            };

            switch(Device.RuntimePlatform) {
                case Device.iOS:
                    Padding = new Thickness(0, 20, 0, 0);
                    break;
            }
        }
    }
}
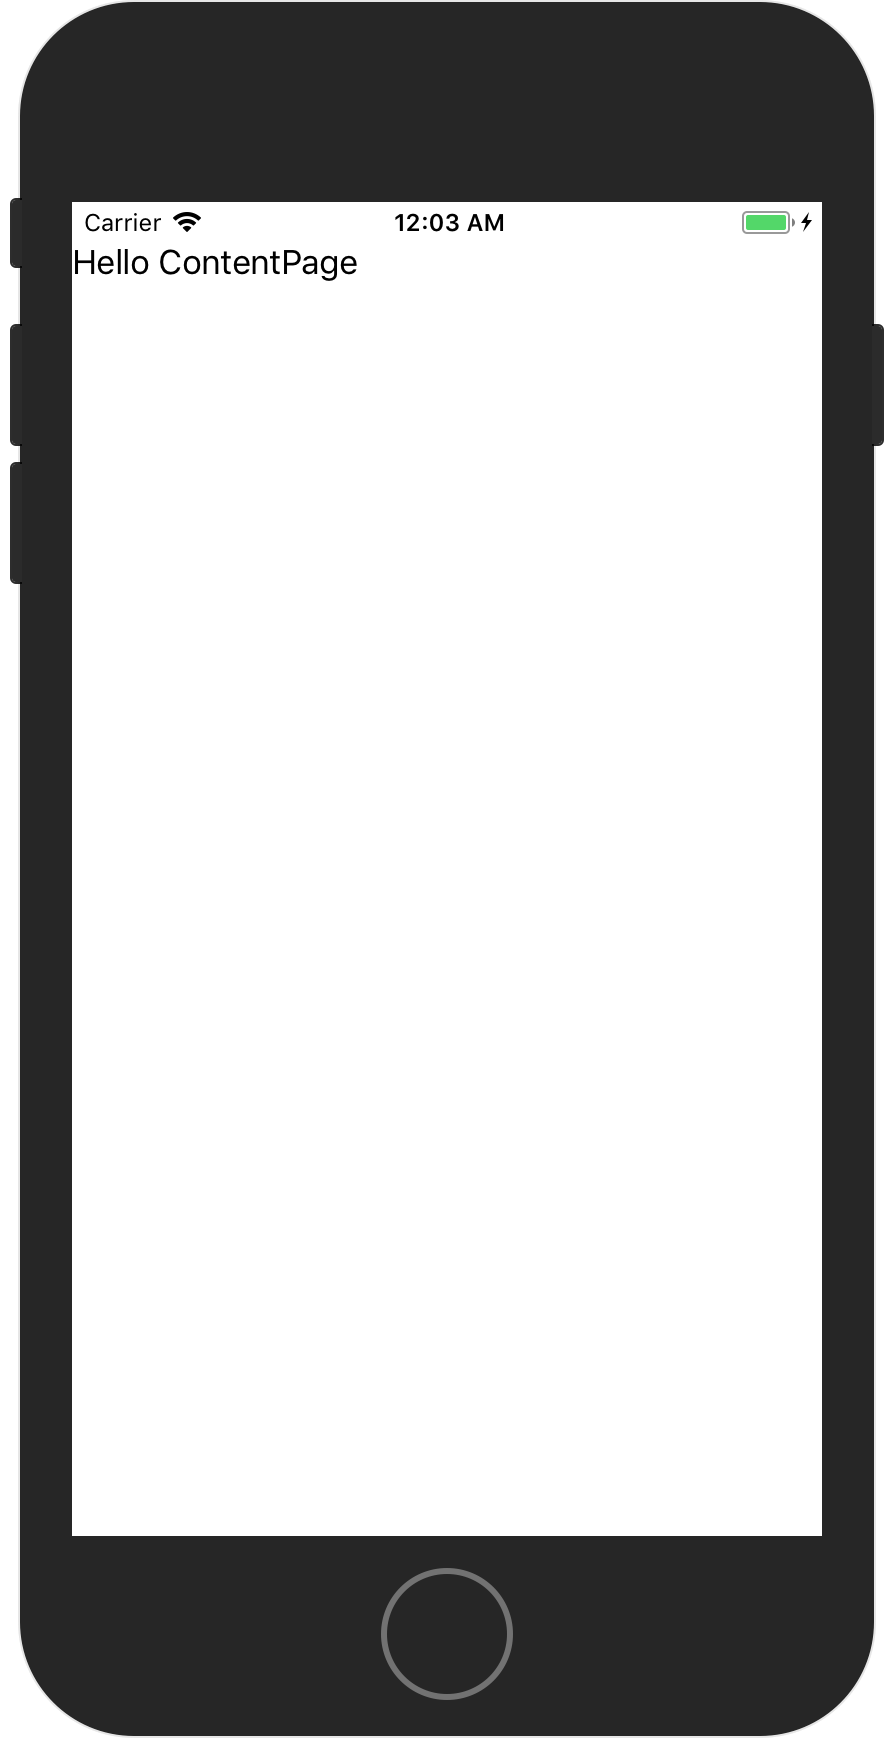
重新运行:

终于搞到需要的效果了。
通过 Device.RuntimePlatform 我们可以获知当前平台,从而对特定情况处理特定数据。
重新再输入内容:
using System;

using Xamarin.Forms;

namespace one
{
    public class Greetings : ContentPage
    {
        public Greetings()
        {
            Content = new Label {
                Text = "Greetings, Xamarin.Forms!"
            };
            switch (Device.RuntimePlatform) {
                case Device.iOS:
                    Padding = new Thickness(0, 20, 0, 0);
                    break;
            }
        }
    }
}
重新运行:

对 Label 进行布局看看:
using System;

using Xamarin.Forms;

namespace one
{
    public class Greetings : ContentPage
    {
        public Greetings()
        {
            Content = new Label {
                Text = "Greetings, Xamarin.Forms!",
                HorizontalOptions = LayoutOptions.Center,
                VerticalOptions = LayoutOptions.Center
            };
        }
    }
}
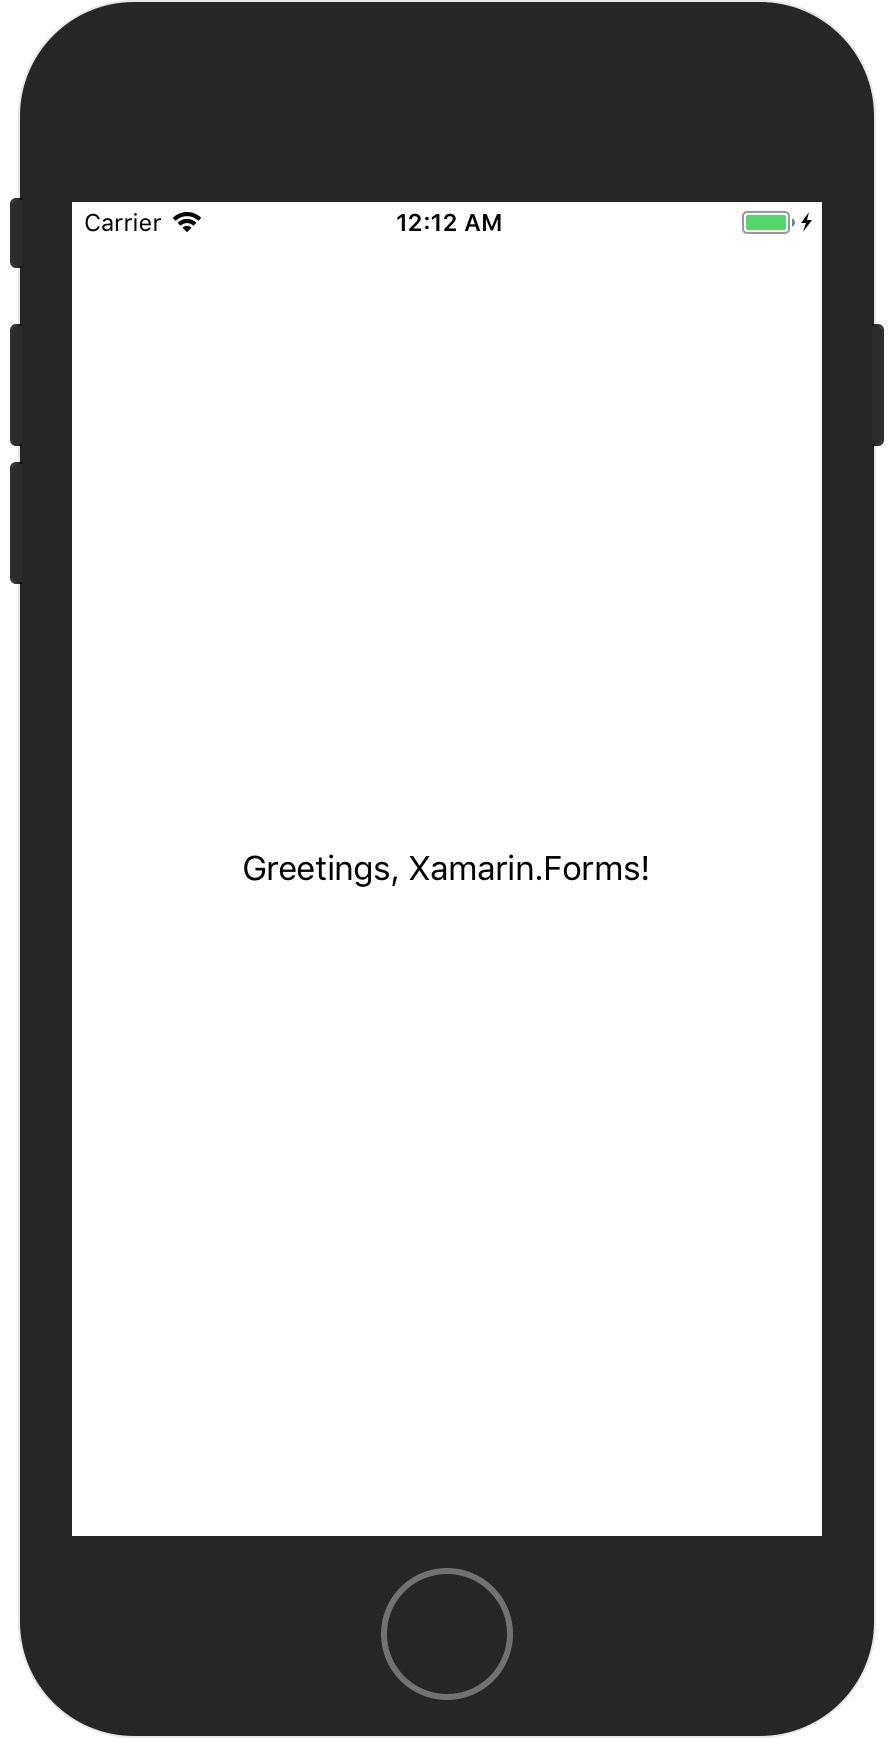
运行:

还有对文字的对齐改变:
using System;

using Xamarin.Forms;

namespace one
{
    public class Greetings : ContentPage
    {
        public Greetings()
        {
            Content = new Label {
                Text = "Greetings, Xamarin.Forms!",
                HorizontalTextAlignment = TextAlignment.Center,
                VerticalTextAlignment = TextAlignment.Center
            };
        }
    }
}
也可以实现同样的效果!
